Soldering iron tip is used for a long time, or needs to be replaced when it fails. When replacing a new copper soldering iron tip, you need to follow the following steps:
1. Turn off the power of the electric iron to avoid live operation, causing danger.
2. Take out the iron tip.
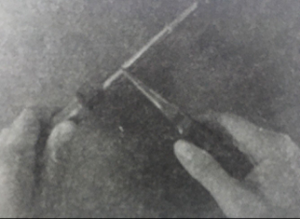
1) When replacing the electric iron fixed with a metal ring, you must remember to clamp the metal ring of the iron tip with pliers. Remember not to pull it directly by hand to avoid the iron tip not being cut off or just cut off. For scalded hands, the pliers can be needle-nose pliers or general pliers, depending on the convenience of use. The operation of taking out the steel head is shown in Figure 1.
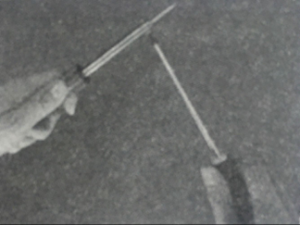
2) When replacing the iron tip tightened with screws, first unscrew the fixing screw, and then remove the iron tip with pliers, as shown in Figure 2.
Note that no matter what type of soldering iron tip is replaced, the operation of removing the soldering iron tip must pull the soldering iron tip out and cannot twist it.

Figure 1 Clamp the metal ring and take out the copper head

Figure 2 Loosen the screws and remove the copper head
3. Replace the soldering iron tip
1) For the iron tip fixed by the metal ring, insert 3/4 sets of copper heads of the metal pipe, then plug the remaining 1/4 of the metal pipe into the sleeve first, and finally push the metal pipe and the copper head together into the sleeve. Use pliers to clamp the metal ring to proper tightness.
2) After installing the new soldering iron tip with the screw head tightened with screws, keep tilting upwards until the screws are tightened. The purpose of keeping tilting upwards is to prevent the tip of the soldering iron from falling during operation.